Service Manuals, User Guides, Schematic Diagrams or docs for : AIWA Audio LCX-K170 hfe_aiwa_lcx-k170_service_supplement_en
<< Back | HomeMost service manuals and schematics are PDF files, so You will need Adobre Acrobat Reader to view : Acrobat Download Some of the files are DjVu format. Readers and resources available here : DjVu Resources
For the compressed files, most common are zip and rar. Please, extract files with Your favorite compression software ( WinZip, WinRAR ... ) before viewing. If a document has multiple parts, You should download all, before extracting.
Good luck. Repair on Your own risk. Make sure You know what You are doing.
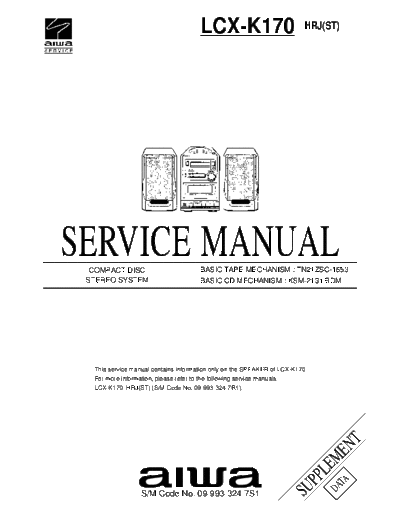
Image preview - the first page of the document

>> Download hfe_aiwa_lcx-k170_service_supplement_en documenatation <<
Text preview - extract from the document
                                      LCX-K170                            HRJ(ST)


SERVICE MANUAL
  COMPACT DISC                        BASIC TAPE MECHANISM : TN21ZSC-1653
 STEREO SYSTEM                        BASIC CD MECHANISM : KSM-2131 BDM


  This service manual contains information only on the SPEAKER of LCX-K170.
  For more information, please refer to the following service manuals.
  LCX-K170 HRJ(ST) (S/M Code No. 09-993-324-7R1).
                                                                                   NT
                                                                               ME
                                                                              LE
                                                                         PP
                                                                                 TA
                                                                               DA
                                                                     SU


                  S/M Code No. 09-993-324-7S1
SPEAKER DISASSEMBLY INSTRUCTIONS
Type.1                                                                      Type.4
Insert a flat-bladed screwdriver into the position indicated by the                                         TOOLS
arrows and remove the panel. Remove the screws of each speaker                                                 1 Plastic head hammer
unit andthen remove the speaker units.
                                                                                                               2 (-) flat head screwdriver
                                                                                                               3 Cut chisel


                                                                                    1     2       3

Type.2                                                                      How to Remove the PANEL, FR
Remove the grill frame and four pieces of rubber caps by pulling               1.    Insert the (-) flat head screwdriver tip into the gap
out with a flat-bladed screwdriver. Remove the screws from hold                      between the PANEL, FR and the PANEL, SPKR. Tap
where installed rubber caps. Insert a flat-bladed screwdriver into                   the head of the (-) flat head screwdriver with the plastic
the position indicated by the arrows and remove the panel. Re-                       hammer head, and create the clearance as shown in Fig-1.
move the screws of each speaker unit and then remove the speaker
units.                                                                         2.    Insert the cut chisel in the clearance, and tap the head of
                                                                                     the cut chisel with plastic hammer as shown in Fig-2, to
                                                                                     remove the PANEL, FR.

                                                                               3.    Place the speaker horizontally. Tap head of the cut
                                                                                     chisel with plastic hammer as shown in Fig-3, and
                                                                                     remove the PANEL, FR completely.


Type.3
Insert a flat-bladed screwdriver into the position indicated by the
arrows and remove the panel. Turn the speaker unit to counter-
clockwise direction while inserting a flat-bladed screwdriver into
one of the hollows arround speaker unit, and then remove the speaker
unit. After replacing the speaker unit, install it turnning to clock-
wise direction unitil "click" sound comes out.

                                                                                        Fig-1                             Fig-2


                                                                                                       Fig-3

                                                                            How to Attach the PANEL, FR
                                                                               Attach the PANEL, FR to the PANEL, SPKR. Tap the four
                                                                               corners of the PANEL, FR with the plastic hammer to fit the
                                                                               PANEL, FR into the PANEL, SPKR completely.


                                                                        2
  SPEAKER PARTS LIST


   REF. NO     PART NO.    KANRI         DESCRIPTION
                            NO.
         1   88-CG6-009-010     CABI,FR SPKR
         2   88-CL5-764-010     CORD,SPEAKER
         3   88-CL6-020-010     SPKR, CLOTH BKT
         4   88-CL6-030-010     SPKR, CLOTH SHEET
         5   88-CL6-619-010     SPKR,10 4OHM 8CL6


                                        2
◦ Jabse Service Manual Search 2024 ◦ Jabse Pravopis ◦ onTap.bg ◦ Other service manual resources online : Fixya ◦ eServiceinfo