Service Manuals, User Guides, Schematic Diagrams or docs for : Casio Audio VZ2000 vz2000
<< Back | HomeMost service manuals and schematics are PDF files, so You will need Adobre Acrobat Reader to view : Acrobat Download Some of the files are DjVu format. Readers and resources available here : DjVu Resources
For the compressed files, most common are zip and rar. Please, extract files with Your favorite compression software ( WinZip, WinRAR ... ) before viewing. If a document has multiple parts, You should download all, before extracting.
Good luck. Repair on Your own risk. Make sure You know what You are doing.
Image preview - the first page of the document
>> Download vz2000 documenatation <<
Text preview - extract from the document
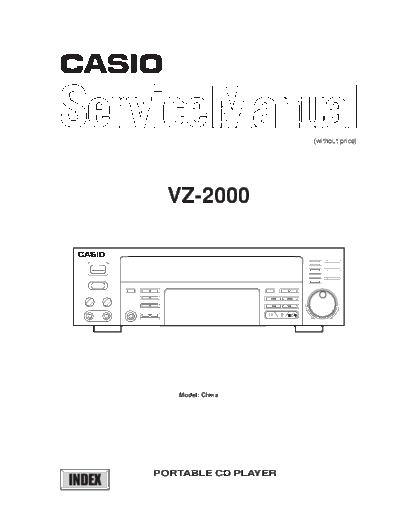
                             (without price)


          VZ-2000


           Model: China


        PORTABLE CD PLAYER
INDEX
                                                               CONTENTS
Disassembly Instructions ............................................................................................................. 1
Block Diagrams .............................................................................................................................. 4
  V-CD ............................................................................................................................................. 4
  Front, VR, Jack ............................................................................................................................. 5
  AMP, PS, RF ................................................................................................................................ 6
  CD ................................................................................................................................................. 7
CD Adjustments ............................................................................................................................. 8
CD Troubleshooting .................................................................................................................... 10
Video CD Troubleshooting ......................................................................................................... 22
PCB Views .................................................................................................................................... 26
 Display PCB ................................................................................................................................ 26
Wiring Diagram ............................................................................................................................ 27
IC Lead Identification and Internal Diagrams ........................................................................... 28
Schematic Diagrams .................................................................................................................... 47
  CD Changer, CD Pickup/Mecha ................................................................................................. 47
  AMP ............................................................................................................................................ 48
  PS ............................................................................................................................................... 49
  CD ............................................................................................................................................... 50
  V-CD ........................................................................................................................................... 51
  Front A ........................................................................................................................................ 52
 Front B (Jack, VR, RF) ............................................................................................................... 53
Parts List ....................................................................................................................................... 54
Exploded Views ........................................................................................................................... 60
                                DISASSEMBLY INSTRUCTIONS

1. Remove eleven screws A holding the                 Metal case
  metal case.


                                                                         Figure 1

                                                                   Rear panel

                                                       Cord busing


2. Remove six screws B and pullout the
   cord bushing from the rear panel.


3. Insert a finger in the hole of bottom
  side, turn the gear to direction of arrow
  a . (Unlock the tray panel and pull the                                       Figure 2
   tray panel)
4. Pull the tray panel to direction of arrow
   b , pull the three tabs to arrow side.

                                Tray panel                                               a


                                               Tabs                               Gear

                                      b


                                                            Figure 3

                                                1
5. Remove two screws I holdeing the front
  foot. Remove eight screws C holdeing
  the front case assembly.
  Disconnect all connectors from/to front
  case assembly.


    C
                                   C

        C                  C

            Top View                                         I
                                                                           CD mecha and amplifier


                                                     Front case assembly


                                                           Figure 4
5. Remove seven screws D holdeing the
   CD mechanism assembly.
  Remove bottom screw D at first to
  disassemble easy.


        D              D
                                                                       Amplifier unit


   D                           D

   D                           D


                                                           CD mechanism assembly


                                                                   Bottom chassis assembly


                                                Figure 5
                                            2
 7. Remove four screws E holding the amplifier unit.
 8. Remove four screws F holding the PS unit.
 9. Remove six screws H holding the CD BKT L and R.
10. Remove screw G holding the CD unit.


                                                                 CD mechanism


                                                                                  CD mechanism
                                                                                  assembly

                      PS unit


                                                                            CD BKT R


                                CD BKT L


                                                       Amplifier unit


                                            Figure 6


                                                3
                                            BLOCK DIAGRAMS
V-CD

 To
 CD Block
   8   CDC2
   7   CDDT
   6   CDBC                                                   IC603
   5   CDLR                                                  (Buffer)
   4   CDEM                     GND                                                                                            IC601
   3   VSS                      (Digital)                                                                                     (Buffer)
                                                16.93M
   2   C16M
   1   VDD                      +5V
                                (Digital)


                                                                                 (for Video)
  CN601
                    IC604                    IC609


                                                                                 X601
            +3.3V
            VDD3    +3.3V                   (Buffer)


                                                                                               ALCK
                                                                                                                IC601


                                                                             16.93M
                       X602
                     Sub
◦ Jabse Service Manual Search 2024 ◦ Jabse Pravopis ◦ onTap.bg ◦ Other service manual resources online : Fixya ◦ eServiceinfo