Service Manuals, User Guides, Schematic Diagrams or docs for : epson printer EPSON Stylus Color 400 SM 400CH3
<< Back | HomeMost service manuals and schematics are PDF files, so You will need Adobre Acrobat Reader to view : Acrobat Download Some of the files are DjVu format. Readers and resources available here : DjVu Resources
For the compressed files, most common are zip and rar. Please, extract files with Your favorite compression software ( WinZip, WinRAR ... ) before viewing. If a document has multiple parts, You should download all, before extracting.
Good luck. Repair on Your own risk. Make sure You know what You are doing.
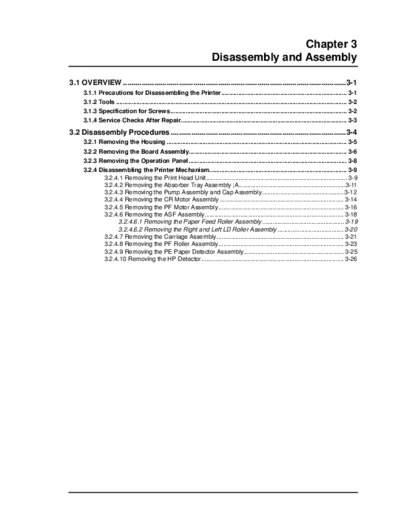
Image preview - the first page of the document

>> Download 400CH3 documenatation <<
Text preview - extract from the document
                                                                                             Chapter 3
                                                                             Disassembly and Assembly

3.1 OVERVIEW ............................................................................................................3-1
      3.1.1 Precautions for Disassembling the Printer.......................................................................... 3-1
      3.1.2 Tools ........................................................................................................................................ 3-2
      3.1.3 Specification for Screws........................................................................................................ 3-2
      3.1.4 Service Checks After Repair.................................................................................................. 3-3
3.2 Disassembly Procedures .....................................................................................3-4
      3.2.1 Removing the Housing .......................................................................................................... 3-5
      3.2.2 Removing the Board Assembly............................................................................................. 3-6
      3.2.3 Removing the Operation Panel ............................................................................................. 3-8
      3.2.4 Disassembling the Printer Mechanism................................................................................. 3-9
              3.2.4.1 Removing the Print Head Unit................................................................................... 3-9
              3.2.4.2 Removing the Absorber Tray Assembly ;A...............................................................3-11
              3.2.4.3 Removing the Pump Assembly and Cap Assembly................................................ 3-12
              3.2.4.4 Removing the CR Motor Assembly ......................................................................... 3-14
              3.2.4.5 Removing the PF Motor Assembly.......................................................................... 3-16
              3.2.4.6 Removing the ASF Assembly.................................................................................. 3-18
                   3.2.4.6.1 Removing the Paper Feed Roller Assembly ................................................ 3-19
                   3.2.4.6.2 Removing the Right and Left LD Roller Assembly ....................................... 3-20
              3.2.4.7 Removing the Carriage Assembly........................................................................... 3-21
              3.2.4.8 Removing the PF Roller Assembly.......................................................................... 3-23
              3.2.4.9 Removing the PE Paper Detector Assembly........................................................... 3-25
              3.2.4.10 Removing the HP Detector.................................................................................... 3-26
                                                                    Chapter3 Disassembly and Assembly

3.1 OVERVIEW
This section describes procedures for disassembling the main components of EPSON Stylus Color 400.
Unless otherwise specified, disassembly units or components ca be reassembled by reversing the
disassembly procedure. Therefore, no assembly procedures are included in this section. Precautions for
any disassembly or assembly procedure are described under the heading "WORK POINT". Any
adjustments required after disassembling the units are described under the heading "REQUIRED
ADJUSTMENT".

3.1.1 Precautions for Disassembling the Printer
See the precautions below when disassembling or assembling EPSON Stylus Color 400.


                                              WARNING
     Disconnect the power cable before disassembling or assembling the printer.
     Wear protective goggles to protect your eyes from ink. If ink gets in your eye, flush the eye with
     fresh water and see a doctor immediately.
     If ink comes into contact with your skin, wash it off with soap and water. If irritation occurs,
     contact a physician.
     A lithium battery is installed on the main board of this printer. Be sure to observe the following
     instructions when serving the battery:
◦ Jabse Service Manual Search 2024 ◦ Jabse Pravopis ◦ onTap.bg ◦ Other service manual resources online : Fixya ◦ eServiceinfo