Service Manuals, User Guides, Schematic Diagrams or docs for : . Car Manuals Subaru Forester 1999-2004 Approved Subaru Forester 2004 5 - Body Glass Windows Mirrors Rear Gate Glass

<< Back | Home

Most service manuals and schematics are PDF files, so You will need Adobre Acrobat Reader to view : Acrobat Download Some of the files are DjVu format. Readers and resources available here : DjVu Resources
For the compressed files, most common are zip and rar. Please, extract files with Your favorite compression software ( WinZip, WinRAR ... ) before viewing. If a document has multiple parts, You should download all, before extracting.
Good luck. Repair on Your own risk. Make sure You know what You are doing.


Image preview - the first page of the document
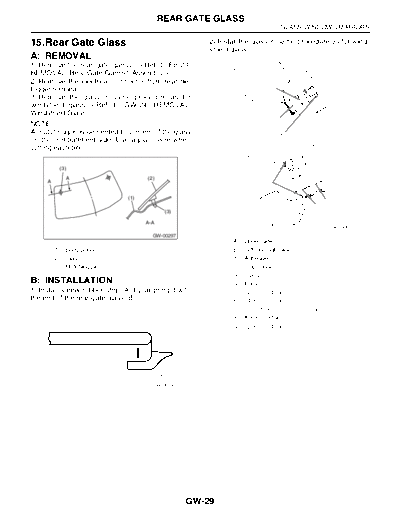
Rear Gate Glass


>> Download Rear Gate Glass documenatation <<

Text preview - extract from the document
                                            REAR GATE GLASS
                                                                                             GLASS/WINDOWS/MIRRORS

15.Rear Gate Glass                                      2) Install the glass in same procedure as for wind-
                                                        shield glass.
A: REMOVAL
1) Remove the rear gate garnish. 
2) Remove the electrical connector from rear de-                                                                               (3)
                                                                                  (5)
fogger terminal.
3) Remove the glass in same procedure as for
windshield glass. 
                                                                                       (6)
NOTE:                                                                                                                    (7)
A matching pin is cemented to corners of the glass                                       (4)
on the compartment side. Use a piano wire when                                                       (3)
                                                              (B)
cutting each pin.
                                                                     (2)                                   (7)

           (3)
                                                                           (1)
             A                        (2)
     A                                                                           (4)             (5)


                                (1)
                                                                                                                        (8)
                                                                                                                 (9)
                                              (3)

                                      A-A
                                                                                                                             GW-00075
                                        GW-00297
                                                                A)   Upper side
         (1) Body panel                                         B)   Left and right side
         (2) Glass                                             (1)   Adhesive
         (3) Matching pin                                      (2)   Strip rubber
                                                               (3)   Glass
B: INSTALLATION                                                (4)   Primer
1) Install a new rubber strip (A) by aligning it with          (5)   12 mm (0.47 in)
the end of the rear gate glass (B).                            (6)   14 mm (0.55 in)
                                                               (7)   10 -- 13 mm (0.39 -- 0.51 in)
                    (B)
                                                               (8)   8 mm (0.31 in)
                                                               (9)   12 mm (0.47 in)


                                            (A)
                                        GW-00049


                                                    GW-29
                                         REAR GATE GLASS
GLASS/WINDOWS/MIRRORS

3) About one hour after installation, conduct a leak
test.
4) After completion of all work, allow the vehicle to
stand for about 24 hours.
NOTE:


◦ Jabse Service Manual Search 2024 ◦ Jabse PravopisonTap.bg ◦ Other service manual resources online : FixyaeServiceinfo