Service Manuals, User Guides, Schematic Diagrams or docs for : MAKITA 9035D-TE
<< Back | HomeMost service manuals and schematics are PDF files, so You will need Adobre Acrobat Reader to view : Acrobat Download Some of the files are DjVu format. Readers and resources available here : DjVu Resources
For the compressed files, most common are zip and rar. Please, extract files with Your favorite compression software ( WinZip, WinRAR ... ) before viewing. If a document has multiple parts, You should download all, before extracting.
Good luck. Repair on Your own risk. Make sure You know what You are doing.
Image preview - the first page of the document
>> Download 9035D-TE documenatation <<
Text preview - extract from the document
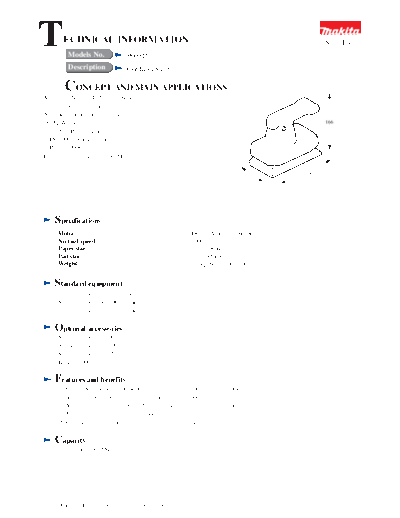
T      ECHNICAL INFORMATION
         Models No.             9035D
                                                                                                      New Tool


         Description            Cordless Sander

        CONCEPT AND MAIN APPLICATIONS
Model 9035D/9035DW are compact,
light yet powerful battery sanders.
No other competitor has similar products.
9035DW consists of :                                                                                  166
   9035D (Battery sander)
   DC7000 (Quick charger)
   Battery 7000
Battery is not attached to 9035D.

                                                                                                185
                                                                               93


    Specifications
     Motor                                               DC 7.2 V magnet motor
     No load speed                                       6000/min.
     Paper size                                          93 x 228 mm
     Pad size                                            93 x 185mm
     Weight                                              1.3 kg(Battery included)


    Standard equipment
     Sanding paper 93-60 2 sheets
     Sanding paper 93-100 2 sheets
     Sanding paper 93-150 2 sheets

    Optional accessories
     Sanding paper 93-60
     Sanding paper 93-100
     Sanding paper 93-150
     Battery 7000

    Features and benefits
      1. Cartridge-type battery is adopted. (Spare battery allows you to work twice as much.)
      2. You can operate it by single hand, and its switch operation is easy..
      3. You can operate it for about 15 minutes per charge (for about 1 hour).
      4. No wind from the fan stirs up wood dust.
      5. Gear shift speed control promises you powerful operation.

    Capacity
      The same as 9035SB.


      The standard equipment for the tools shown may differ form country to country
Repair
1. Direction of balancer fixed
   Fix the balancer, as shown in the figure, against the
   eccentric direction in the axial center of the spindle end.


                                                                                    Eccentric
2. Attachment of push rod
   Insert the push rod into the switch hole after the housing has been assembled.
◦ Jabse Service Manual Search 2026 ◦ Jabse Pravopis ◦ onTap.bg ◦ Other service manual resources online : Fixya ◦ eServiceinfo