Service Manuals, User Guides, Schematic Diagrams or docs for : MAKITA JN1600-TE
<< Back | HomeMost service manuals and schematics are PDF files, so You will need Adobre Acrobat Reader to view : Acrobat Download Some of the files are DjVu format. Readers and resources available here : DjVu Resources
For the compressed files, most common are zip and rar. Please, extract files with Your favorite compression software ( WinZip, WinRAR ... ) before viewing. If a document has multiple parts, You should download all, before extracting.
Good luck. Repair on Your own risk. Make sure You know what You are doing.
Image preview - the first page of the document
>> Download JN1600-TE documenatation <<
Text preview - extract from the document
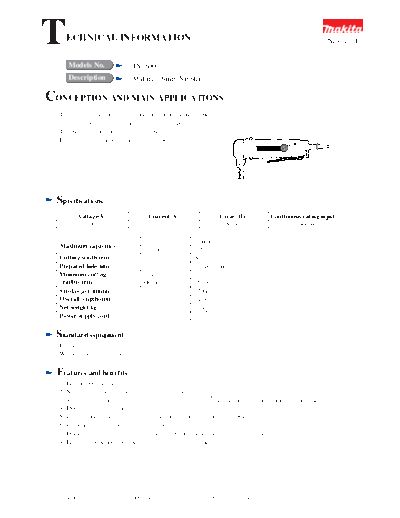
T    ECHNICAL INFORMATION                                                                            New Tool


      Models No.                 JN1600
      Description                Makita 1.6mm Nibbler

CONCEPTION AND MAIN APPLICATIONS
   This nibbling machine is developed to extend market in metal
   industry especially for stainless steel cutting machines.
   The main body is double insulated, small and light.
   It's designed with lever switch for easy use.


  Specifications
          Voltage(V)                  Current(A)                  Cycle (Hz)     Continuous rating input
             100                         3.2                        50/60                 300 W

                                    Soft steel plate   1.6mm
   Maximum capacities
                                    Stainless steel    1.2mm
   Cutting width(mm)                                   8mm
   Prepared hole(mm)                                   18mm or more
   Minimum cutting                  inside             7mm
    radius(mm)                      Outside            15mm
   Strokes per minute                                  2200/min.
   Overall length(mm)                                  245mm
   Net weight(kg)                                      1.5kg
   Power supply cord                                   2m


  Standard equipment
   Hex spaner 3 -      1 piece
   Wrench holder 3-7 - 1 piece


  Features and benefits
   1) Easy to operate with lever switch
   2) Maximum capacity indicating gage (plate thickness gage)
   3) Cutting directions can be changed easily at every 90 so that it's easy to work on from each direction
   4) Double insulating structure
   5) Can cut steel plate, stainless steel, aluminum plates and corrugated products.
   6) Compact, light (1.5 kg) and easy to operate everywhere
   7) Doesn't need finishing process due to the smooth cut surface (no strain or twist)
   8) Lines can be scribed precisely since cut part is easy to see


 The standard equipment for the tools shown may differ form country to country
Repair
Disassembling and assembling
1) Changing punch and die
    To take off the die, loosen the fastening screw with attached hexagon
                                                                                               Die
    socket screw key. Secondary, pull out the punch by turning the screw
    counterclockwise with a wrench (13mm). Fasten both the screw and the                                      Locking screw
    locking screw tightly (see the right fig.).                                                              Punch
                                                                                                             Screw


2) Disassembling and assembling spur gear 44 and crankshaft
    Take off the gear with arbor press due to press fitting. Press fit from the eccentric processed side of the spur
    gear 44 when assembling (see the fig. below).
                                                     (Eccentric processed part)
                                                            Press fitting


                                    Crankshaft                                Spur gear 44
                                                      Woodruffkey3
3) Assembling inside of the gear housing
    Assemble the part A, and attach it into inside of the gear housing, ram first. Secondary, attach the part B and fill
    grease. Make sure not to drop any washer (see the fig. below).
                                                             Part (A)
                                            Rod
                                                                                 Part (B)


                                            Flat washer 8                                    Core washer 6
                                                                        Flat washer 8
                                                        Ram
                             Gear housing
◦ Jabse Service Manual Search 2026 ◦ Jabse Pravopis ◦ onTap.bg ◦ Other service manual resources online : Fixya ◦ eServiceinfo