Service Manuals, User Guides, Schematic Diagrams or docs for : MAKITA JS3200-TE
<< Back | HomeMost service manuals and schematics are PDF files, so You will need Adobre Acrobat Reader to view : Acrobat Download Some of the files are DjVu format. Readers and resources available here : DjVu Resources
For the compressed files, most common are zip and rar. Please, extract files with Your favorite compression software ( WinZip, WinRAR ... ) before viewing. If a document has multiple parts, You should download all, before extracting.
Good luck. Repair on Your own risk. Make sure You know what You are doing.
Image preview - the first page of the document

>> Download JS3200-TE documenatation <<
Text preview - extract from the document
T    ECHNICAL INFORMATION                                                                                    New Tool


      Models No.                 JS3200
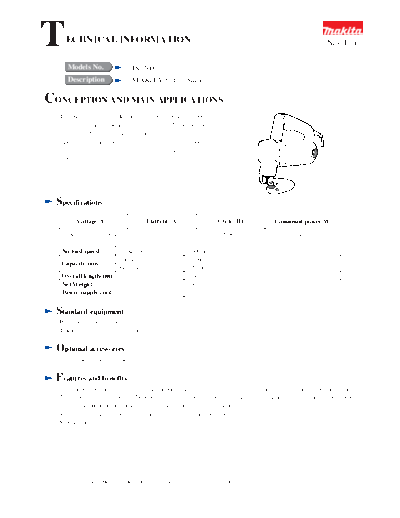
      Description                MAKITA 3.2mm Shear

CONCEPTION AND MAIN APPLICATIONS
   This machine has been developed followed by the JS1600,
   wherein the shear is serialized to cut up to 3.2 mm for steel plate
   and up to 2.5 mm for stainless plate while focusing not only in
   making it into the most compact and light weighing model in
   this class for easy operation, but also in upgrading the
   endurance capacity.


  Specifications
          Voltage (V)                    Current (A)                Cycle (Hz)          Consumed power(W)

       Single-phase 100V                    7.0                          50/60                   660

    No load speed          strokes per min             1600/min.
                           Soft steel plate            3.2mm
    Capacity(mm)
                           Stainless plate             2.5mm
    Overall length(mm)                                 204mm
    Net Weight                                         3.4kg
    Power supply cord                                  2.5m


  Standard equipment
   Hex. spanner 4 --- 1 piece
   Thickness gauge ----------- 1 piece

  Optional accessories
   Shear blade(Top/bottom set parts)


  Features and benefits
   1.The most compact and light weighing model in this class enables no fatigue caused even after long operation time.
   2.The four corners at both top/bottom of the shear blade can be used as the cutting blade without having to be shaepen.
   3.The attachment or the thickness gauge enables to get the best blade clearance.
   4.The built-in max. capacity indication gauge assures the operation with confidence.
   5.Double insolation


 The standard equipment for the tools shown may differ form country to country
Repair
[Disassembling orders and cautions]
  Although there is no special problematic point where the parts should be replaced, disassembling and
  assembling methods in overhauling etc. are shown below.
     1. To remove the metal, use the hexagon rod spanner 6 and 4 respectively to disconnect the hexagon holed bolt
     holding the yoke and shear blade, use the hexagon rod spanner 3 to loosen the fixing screw at rear below of the
     gear housing by turning about 3-turn, and then remove the metal.
    2. To disconnect the gear housing(cover), use the plus screw driver to disconnect the pan head screw protruded
     above the gear housing, and remove the gear housing. Since the gear housing cover is also mounted on the
     handle, disconnect the handle from the motor housing to remove the gear housing cover.
    3. To disconnect the rod and the blade holder, remove the pin for holding them(pin is not pressed in).

[Assembling orders and cautions]
  For assembling proceed approximately in the reverse orders against disassembling shown above. Cautions in
  assembling are shown below.
     1. To press the needle bearing into the rod, press it until the side face of the bearing may be correctly fit with
        the side face of the rod. In this case grease the needle bearing.
     2. To mount the shear blade A on the blade holder, use care not
        to make a clearance between the shear blade                                                 Clearance unacceptable
        and the bevel face on the blade holder.


     3. To make parallel between top/bottom blades in assembling the
        yoke, first mount the shear blade B on the yoke, temporarily fasten
        the gear housing at the given position and then strongly fasten the
        hexagon holed bolt while keeping the clearance between
        top/bottom blades in parallel by turning the yoke appropriately.
                                                                                                 Parallel(Visually check)

     4. Since the ball bearing on the armature comprises the single-end seal with directionality, use care of its
        directionality.


                                                                                Seal at commutator side:Rear end is opened
                                        Seal at fan side: gear side is opened
◦ Jabse Service Manual Search 2024 ◦ Jabse Pravopis ◦ onTap.bg ◦ Other service manual resources online : Fixya ◦ eServiceinfo