Service Manuals, User Guides, Schematic Diagrams or docs for : Yamaha RX RX-A3010 & V3071 RXA3010_FIRMWARE
<< Back | HomeMost service manuals and schematics are PDF files, so You will need Adobre Acrobat Reader to view : Acrobat Download Some of the files are DjVu format. Readers and resources available here : DjVu Resources
For the compressed files, most common are zip and rar. Please, extract files with Your favorite compression software ( WinZip, WinRAR ... ) before viewing. If a document has multiple parts, You should download all, before extracting.
Good luck. Repair on Your own risk. Make sure You know what You are doing.
Image preview - the first page of the document
>> Download RXA3010_FIRMWARE documenatation <<
Text preview - extract from the document
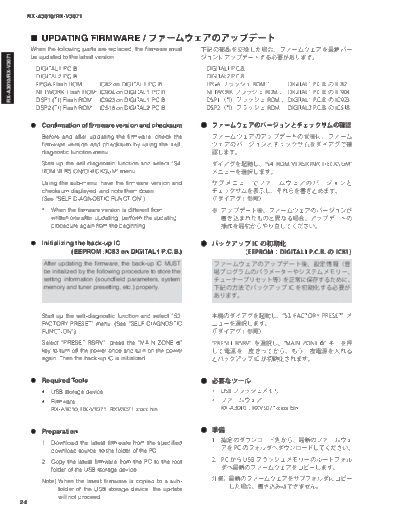
                         RX-A3010/RX-V3071


                           UPDATING FIRMWARE /
                          When the following parts are replaced, the firmware must
RX-A3010/RX-V3071


                          be updated to the latest version.
                            DIGITAL1 P.C.B.
                            DIGITAL2 P.C.B.
                            FPGA Flash ROM:         IC82 on DIGITAL1 P.C.B.
                            NETWORK Flash ROM:      IC904 on DIGITAL1 P.C.B.
                            DSP1 (TI) Flash ROM:    IC923 on DIGITAL1 P.C.B.
                            DSP2 (TI) Flash ROM:    IC518 on DIGITAL2 P.C.B.


                           Confirmation of firmware version and checksum
                              Before and after updating the firmware, check the
                              firmware version and checksum by using the self-
                              diagnostic function menu.
                              Start up the self-diagnostic function and select "S4.
                              ROM VERSION/CHECKSUM" menu.
                              Using the sub-menu, have the firmware version and
                              checksum displayed, and note them down.
                              (See "SELF-DIAGNOSTIC FUNCTION")
                              *   When the firmware version is different from
                                  written one after updating, perform the updating
                                  procedure again from the beginning.


                           Initializing the back-up IC
                                      (EEPROM: IC83 on DIGITAL1 P.C.B.)
                              After updating the firmware, the back-up IC MUST
                              be initialized by the following procedure to store the
                              setting information (soundfield parameters, system
                              memory and tuner presetting, etc.) properly.


                              Start up the self-diagnostic function and select "S3.
                              FACTORY PRESET" menu. (See "SELF-DIAGNOSTIC
                              FUNCTION")
                              Select "PRESET RSRV", press the "MAIN ZONE "
                              key to turn off the power once and turn on the power
                              again. Then the back-up IC is initialized.


                           Required Tools
◦ Jabse Service Manual Search 2026 ◦ Jabse Pravopis ◦ onTap.bg ◦ Other service manual resources online : Fixya ◦ eServiceinfo