Service Manuals, User Guides, Schematic Diagrams or docs for : . Car Manuals Subaru Forester 1999-2004 Approved Subaru Forester 1999-2000 BODY AND ELECTRICAL SECTION Body and Exterior MSA5T0126A27869
<< Back | HomeMost service manuals and schematics are PDF files, so You will need Adobre Acrobat Reader to view : Acrobat Download Some of the files are DjVu format. Readers and resources available here : DjVu Resources
For the compressed files, most common are zip and rar. Please, extract files with Your favorite compression software ( WinZip, WinRAR ... ) before viewing. If a document has multiple parts, You should download all, before extracting.
Good luck. Repair on Your own risk. Make sure You know what You are doing.
Image preview - the first page of the document
>> Download MSA5T0126A27869 documenatation <<
Text preview - extract from the document
SERVICE PROCEDURE [W3A0] 5-1
3. Front Bumper
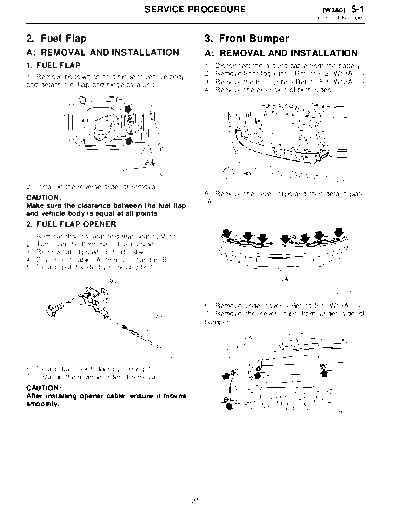
2. Fuel Flap 3. Front Bumper
A: REMOVAL AND INSTALLATION A: REMOVAL AND INSTALLATION
1. FUEL FLAP 1) Disconnect the ground cable from the battery.
1) Remove bolts which hold hinge to vehicle body, 2) Remove front fog light.
and detach fuel flap and hinge as a unit. 3) Remove the front grille.
4) Remove the extension of both sides.
S5M0150
S5M0152A
2) Install in the reverse order of removal.
5) Remove the seven clips and then detach plate
CAUTION:
Make sure the clearance between the fuel flap (A).
and vehicle body is equal at all points.
2. FUEL FLAP OPENER
1) Remove driver's seat and rear seat cushion.
2) Turn over the floor mat (driver's side).
3) Remove all clips which hold cable.
4) Disconnect cable (A) from pull handle (B).
5) Detach pull handle by removing bolts.
S5M0397A
6) Remove under cover.
7) Remove the seven clips from under side of
bumper.
S5M0291B
6) Detach fuel lock holder by turning it.
7) Install in the reverse order of removal.
CAUTION:
After installing opener cable, ensure it moves
smoothly.
S5M0153
31
5-1 [W4A0] SERVICE PROCEDURE
4. Rear Bumper
8) Turn over the front mud guard of the front por- 4. Rear Bumper
tion and then remove bolt.
A: REMOVAL AND INSTALLATION
1) Disconnect the ground cable from the battery.
2) Open rear gate.
3) Remove the five screws and the clip from the
rear bumper.
S5M0154
9) Remove bumper face and E/A foam.
10) Remove the four bolts and then detach the
back beam.
S5M0399
4) Disconnect license plate light connector.
5) Remove bolts and clips from under side of
bumper.
S5M0398
11) Remove the four bolts and then detach the
beam upper.
S5M0157
6) Remove bumper face and E/A foam.
7) Remove canister.
8) Remove bolts from bumper stay.
S5M0156
12) Install in the reverse order of removal.
CAUTION:
◦ Jabse Service Manual Search 2026 ◦ Jabse Pravopis ◦ onTap.bg ◦ Other service manual resources online : Fixya ◦ eServiceinfo