Service Manuals, User Guides, Schematic Diagrams or docs for : . Car Manuals Subaru Legacy 2000-2003 Approved Subaru Legacy 2000 2000 Service Manual BODY SECTION Body and Exterior MSA5TCD00L15963
<< Back | HomeMost service manuals and schematics are PDF files, so You will need Adobre Acrobat Reader to view : Acrobat Download Some of the files are DjVu format. Readers and resources available here : DjVu Resources
For the compressed files, most common are zip and rar. Please, extract files with Your favorite compression software ( WinZip, WinRAR ... ) before viewing. If a document has multiple parts, You should download all, before extracting.
Good luck. Repair on Your own risk. Make sure You know what You are doing.
Image preview - the first page of the document
>> Download MSA5TCD00L15963 documenatation <<
Text preview - extract from the document
SERVICE PROCEDURE [W16A4] 5-1
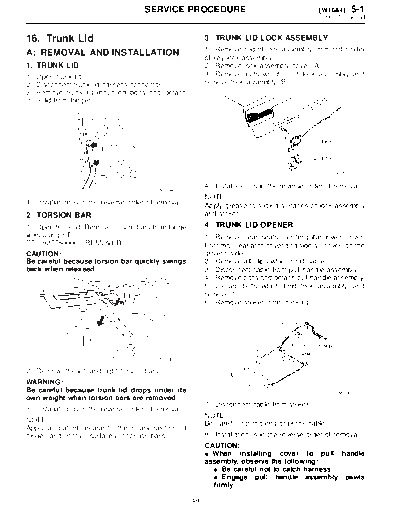
16. Trunk Lid
16. Trunk Lid 3. TRUNK LID LOCK ASSEMBLY
1) Remove rod of lock assembly from rod holder
A: REMOVAL AND INSTALLATION of key lock assembly.
1. TRUNK LID 2) Remove lock assembly cover (A).
1) Open trunk lid. 3) Remove nuts which hold lock assembly and
2) Disconnect trunk lid harness connector. remove lock assembly (B).
3) Remove trunk lid mounting bolts and detach
trunk lid from hinges.
B5M0795A
4) Installation is in the reverse order of removal.
G5M0144
NOTE:
4) Installation is in the reverse order of removal. Apply grease to sliding surfaces of lock assembly
2. TORSION BAR and striker.
1) Open trunk lid. Remove torsion bars from hinge 4. TRUNK LID OPENER
links using ST. 1) Remove rear seats, center pillar lower cover,
ST 927780000 REMOVER floor mat, rear arch cover and side sill cover (on the
CAUTION: driver's side).
Be careful because torsion bar quickly swings 2) Remove all clips which hold cable.
back when released. 3) Disconnect cable from pull handle assembly.
4) Remove bolts and detach pull handle assembly.
5) Loosen bolts which hold lock assembly, and
remove it.
6) Remove striker from trunk lid.
G5M0145
2) Remove the left and right torsion bars.
WARNING:
Be careful because trunk lid drops under its G5M0147
own weight when torsion bars are removed.
7) Disconnect cable from striker.
3) Installation is in the reverse order of removal.
NOTE:
NOTE: Be careful not to bend or break cable.
Apply a coat of grease to the rotary section of
hinges and contact surfaces of torsion bars. 8) Installation is in the reverse order of removal.
CAUTION:
◦ Jabse Service Manual Search 2026 ◦ Jabse Pravopis ◦ onTap.bg ◦ Other service manual resources online : Fixya ◦ eServiceinfo