Service Manuals, User Guides, Schematic Diagrams or docs for : . Car Manuals Toyota Celica 1988-1989.1993-1994.2000 Approved Toyota Celica 1993 TRANSMIS
<< Back | HomeMost service manuals and schematics are PDF files, so You will need Adobre Acrobat Reader to view : Acrobat Download Some of the files are DjVu format. Readers and resources available here : DjVu Resources
For the compressed files, most common are zip and rar. Please, extract files with Your favorite compression software ( WinZip, WinRAR ... ) before viewing. If a document has multiple parts, You should download all, before extracting.
Good luck. Repair on Your own risk. Make sure You know what You are doing.
Image preview - the first page of the document

>> Download TRANSMIS documenatation <<
Text preview - extract from the document
                      TRANSMISSION REMOVAL & INSTALLATION - A/T

                                      1993 Toyota Celica


         1993 TRANSMISSION SERVICING
         Toyota Transmission Removal & Installation

         Toyota;   Celica

    AUTOMATIC
WARNING: On models with air bags, to prevent air bag deployment,
         disconnect negative battery cable at least 90 seconds before
         working on vehicle.

         Removal
         1) Disconnect negative battery cable. Wait at least 90
seconds before starting work, to prevent air bag deployment. Remove
airflow meter and air cleaner. Disconnect all external electrical
connectors to transaxle. Remove ground strap.
         2) Disconnect transaxle throttle valve cable at throttle
linkage and remove cable from bracket. Remove transaxle case protector
and disconnect speedometer cable. Disconnect shift control cable at
lever and remove from bracket.
         3) Disconnect oil cooler hoses and remove starter motor
bolts. Remove 2 upper transaxle-to-engine bolts. Remove insulator
bracket set bolt for rear engine mount. Raise and support vehicle.
Drain transaxle fluid. Disconnect and plug oil cooler hoses.
         4) Remove left front fender apron. Disconnect both axle
shafts from transaxle. Remove lower suspension crossmember. Using
pliers, remove snap ring on center axle shaft bearing bracket. Remove
bearing bracket bolt and pull center axle shaft assembly out.
         5) Disconnect control cable clamp and remove crossmember
bolts supporting center mounts of engine. Remove crossmember. Remove
stabilizer bar and left steering knuckle from lower control arm.
         6) Pull steering knuckle outward and remove left axle shaft.
Remove bellhousing cover and remove 6 bolts attaching torque converter
to drive plate.
         7) Support engine with jack stand and secure transaxle jack
under transaxle. Lower rear end of transaxle and remove remaining
transaxle-to-engine bolts. Separate transaxle from engine and lower
transaxle assembly.

         Installation
         1) Apply multipurpose grease to center hub of torque
converter. Install one guide pin in threaded mounting pad of torque
converter to align torque converter. Distance from torque converter
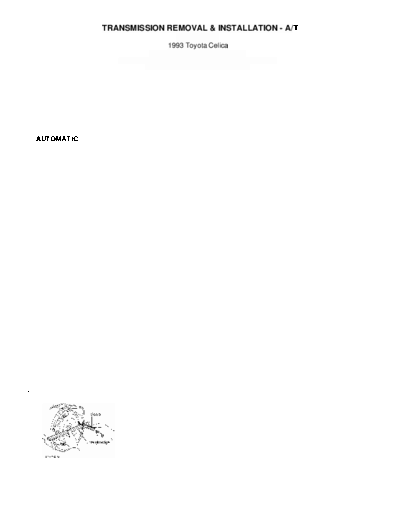
drive lug to engine mating surface of transaxle should be at least .
51" (13 mm). See Fig. 1.


Fig. 1: Measuring Torque Converter Depth
Courtesy of Toyota Motor Sales, U.S.A., Inc.

         2) Reverse removal procedure to complete installation of
transaxle. Torque converter bolts are color coded. Install Gray bolt
first, then the remaining 5 bolts. Tighten torque converter bolts to
specification. See TORQUE SPECIFICATIONS.
         3) Fill transaxle to proper capacity. Check and adjust
throttle cable and control cable.

        TORQUE SPECIFICATIONS
TORQUE SPECIFICATIONS TABLE
◦ Jabse Service Manual Search 2024 ◦ Jabse Pravopis ◦ onTap.bg ◦ Other service manual resources online : Fixya ◦ eServiceinfo