Service Manuals, User Guides, Schematic Diagrams or docs for : . Car Manuals Toyota Celica 1988-1989.1993-1994.2000 Approved Toyota Celica 2000 Toyota Celica 2000 Service Manual Technical Service Bulletins TSB_clicking_noise
<< Back | HomeMost service manuals and schematics are PDF files, so You will need Adobre Acrobat Reader to view : Acrobat Download Some of the files are DjVu format. Readers and resources available here : DjVu Resources
For the compressed files, most common are zip and rar. Please, extract files with Your favorite compression software ( WinZip, WinRAR ... ) before viewing. If a document has multiple parts, You should download all, before extracting.
Good luck. Repair on Your own risk. Make sure You know what You are doing.
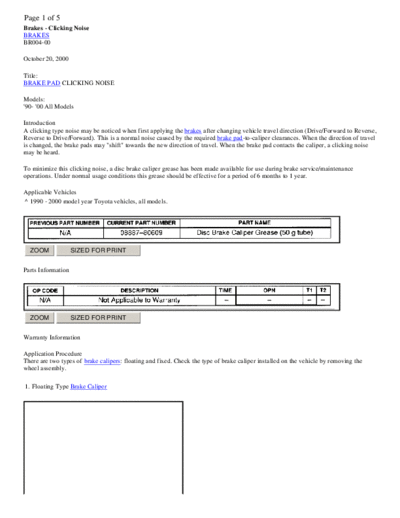
Image preview - the first page of the document
>> Download TSB_clicking_noise documenatation <<
Text preview - extract from the document
Page 1 of 5
Brakes - Clicking Noise
BRAKES
BR004-00

October 20, 2000

Title:
BRAKE PAD CLICKING NOISE

Models:
'90- '00 All Models

Introduction
A clicking type noise may be noticed when first applying the brakes after changing vehicle travel direction (Drive/Forward to Reverse,
Reverse to Drive/Forward). This is a normal noise caused by the required brake pad-to-caliper clearances. When the direction of travel
is changed, the brake pads may "shift" towards the new direction of travel. When the brake pad contacts the caliper, a clicking noise
may be heard.

To minimize this clicking noise, a disc brake caliper grease has been made available for use during brake service/maintenance
operations. Under normal usage conditions this grease should be effective for a period of 6 months to 1 year.

Applicable Vehicles
^ 1990 - 2000 model year Toyota vehicles, all models.


  ZOOM              SIZED FOR PRINT


Parts Information


  ZOOM              SIZED FOR PRINT


Warranty Information

Application Procedure
There are two types of brake calipers: floating and fixed. Check the type of brake caliper installed on the vehicle by removing the
wheel assembly.

1. Floating Type Brake Caliper
Page 2 of 5


  ZOOM           SIZED FOR PRINT


A. Lift up or remove the brake caliper and suspend it securely.
HINT :Do not disconnect the flexible hose from the brake caliper.

B. If equipped with anti-squeal spring: Remove the anti-squeal springs.
C. Remove the brake pads with anti -squeal shims.
D. Remove the pad support plates from the torque plate. Clean any dust from the pad support plates, torque plates and brake pads.


  ZOOM           SIZED FOR PRINT


E. Apply a small amount of the disc brake caliper grease (1-2 mm thick) to both sides of the pad support plates.
NOTE :Do NOT apply grease to the friction surfaces of the brake pads or the disc rotor.
Page 3 of 5


  ZOOM            SIZED FOR PRINT


F. If the pad support plate is fixed to the torque plate with adhesive tape, perform the operation according to the flow chart.


  ZOOM            SIZED FOR PRINT


G. Apply a small amount of the disc brake caliper grease (1-2 mm thick) to the caliper as indicated in the illustration.
H. Install the brake pads with the anti-squeal shims.
I. If equipped with anti-squeal spring: Install the anti -squeal springs.
J. Press the piston in firmly and install the brake caliper.
NOTE :
^ Clean excess grease. from brake pad and caliper.
^ Do NOT apply grease to the friction surfaces of the brake pads or the disc rotor.

   K. Install the wheel assembly.
2. Fixed Type Brake Caliper
   There are two types of brake pads:
Page 4 of 5


  ZOOM           SIZED FOR PRINT


^ Type "A": Has a projection on the upper and lower side of the brake pad. (See illustration.)
^ Type "B": Has a flat upper and lower edge on the brake pad backing plate.


  ZOOM           SIZED FOR PRINT


Type "A" Brake Pad

A. Remove the anti-squeal spring, clip and pad guide pin.
B. Remove the brake pads with the anti-squeal shims.
C. Clean any dust from the brake pads.


  ZOOM           SIZED FOR PRINT
Page 5 of 5
D. Apply a small amount of the disc brake caliper grease (1-2 mm thick) to the areas indicated in the illustration.
NOTE :Do NOT apply grease to the friction surfaces of the brake pads or the disc rotor.

E. Install the brake pads with the anti-squeal shims.
NOTE :Clean excess grease from the brake pads and caliper.

F. Install the pad guide pin, clip and anti -squeal spring.
G. Install the wheel assembly.


  ZOOM            SIZED FOR PRINT


Type "B" Brake Pad

A. Remove the clip, pins and anti-rattle spring/pad retainer clip.
B. Remove the brake pads with the anti-squeal shims.
C. Clean any dust from the brake pads.


  ZOOM            SIZED FOR PRINT


D. Apply a small amount of the disc brake caliper grease (1-2 mm thick) to the areas indicated in the illustration.
NOTE :Do NOT apply grease to the friction surfaces of the brake pads or the disc rotor.

E. Install the brake pads with the anti-squeal shims.
NOTE :Clean excess grease from the brake pads and caliper.

F. Install the pad guide pin, clip and anti -squeal spring.
G. Install the wheel assembly.
◦ Jabse Service Manual Search 2026 ◦ Jabse Pravopis ◦ onTap.bg ◦ Other service manual resources online : Fixya ◦ eServiceinfo